Guangzhou Kule Amusement Equipment Co.,Ltd
Guangzhou Kule Amusement Equipment Co.,Ltd
Kule is an outstanding manufacturer with trademark registration in
Guangzhou, China. It has been deeply engaged in the vibrant and
innovative inflatable industry for nearly a decade. In 2016, Kule
was officially established. Its factory facilities cover an area of
approximately 6,000 square meters, which is large in scale and has
a reasonable layout. The company integrates three core businesses
of research and development, production, and sales. Here, it
gathers the best inflatable toy designers in the industry. They are
full of ingenuity and endow products with vivid vitality with
unlimited creativity. There are also highly skilled sewing workers.
Between every stitch and thread, professionalism and concentration
are fully demonstrated, laying a solid foundation for product
quality. And there are experienced sealing workers. They are
meticulous and ensure that every product can be perfectly sealed.
Kule always adheres to the corporate core values of
"integrity-based, service-oriented, quality first, and achieving
win-win results", and under this guidance, it continuously forges
ahead and provides customers with the highest quality products and
services.
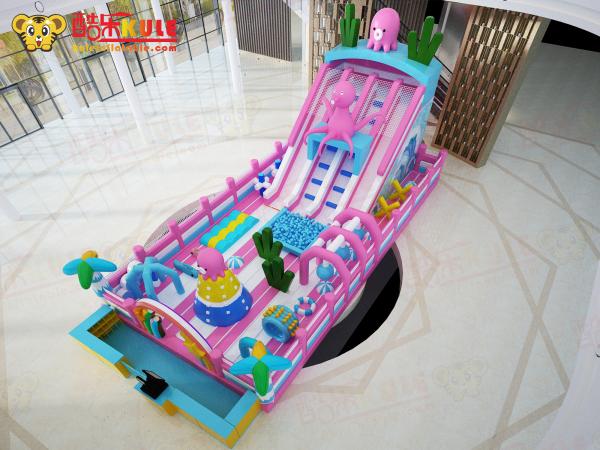
The inflatable products of Kule Company are extremely diverse. The
inflatable castle full of joy creates an atmosphere where children
seem to be in a dreamy fairy tale world. The exciting inflatable
slide brings a thrilling experience. The inflatable water slide
allows people to enjoy coolness and passion amid splashing water.
The inflatable competitive obstacle course stimulates people's
desire to challenge. The fun inflatable games add infinite colors
to happy times. The practical and beautiful inflatable tent is an
excellent choice for outdoor leisure. The grand and eye-catching
inflatable arch adds a solemn atmosphere to various activities. The
water floating toys let people play to their hearts' content on the
blue waves. There are also the exciting inflatable water slides and
the joyous water parks and soft playground. Every product condenses
the efforts and wisdom of the people of Kule.
The inflatable products produced by Kule unswervingly adopt the
highest quality materials. All materials comply with authoritative
certifications such as CE, EN14960, and SGS. Every product
undergoes strict waterproof, fire-resistant, cold-resistant, and
pressure-resistant tests before leaving the factory to ensure safe
and reliable use in various complex environments. Based on perfect
design, through an advanced computer automatic cutting system, each
piece of material is accurately cut to ensure that each product can
present a perfect shape. Whether it is the smoothness of lines or
the overall proportion, it can be called a work of art.
Kule has a professional design team. They are talented and full of
passion. No matter what your needs, budget and plans are, or if
your venue has special requirements, they can design and produce
any inflatable product you want according to your specific
situation. All you have to do is seize an inspiration and boldly
put forward your idea, and the designers of Kule will go all out to
complete the rest of the work for you. Kule will always provide
fast delivery services for new and old customers to ensure that
your products can be delivered to your hands in the shortest time
without delaying any of your plans. At the same time, Kule also
offers affordable prices, so that while you enjoy high-quality
products, you don't need to bear excessive costs. In addition,
perfect after-sales service is also a major highlight of Kule. No
matter what problems you encounter during use, the professional
team of Kule will respond in time and provide you with solutions,
so that you have no worries.


